For our second clay exploration of the session, I decided to present the clay in the form of balls and coils, rather than a slab. The addition of toothpicks and popsicle sticks offers a provocation for a new way of working with the clay (Reggio Emilia early childhood experts use the term "provocation" as a form of provoking, or inviting, children to interact with a material or idea).

I set up a workspace for myself as well so I could model different ways to use the materials. I wanted to present the clay in a way that would encourage the kids to build up, rather than out. The toothpicks proved to be great tool to connect the pieces together to create a sturdy structure. The children also loved sticking them into the clay to create spikes.


After our initial exploration with the toothpicks, I began to bring out more tools, water, and extra slabs of clay for the kids to work with.


Sienna celebrated her 2nd birthday with us in class! Happy birthday Sienna!


The kids began to move around the studio and found the easels set up with oil pastels and liquid watercolor paints.


Some of the kids decided to bring the watercolors to the table to use with their clay. As the table began to overflow with watercolor, I brought out coffee filters to soak up some of the liquid, creating interesting effects.


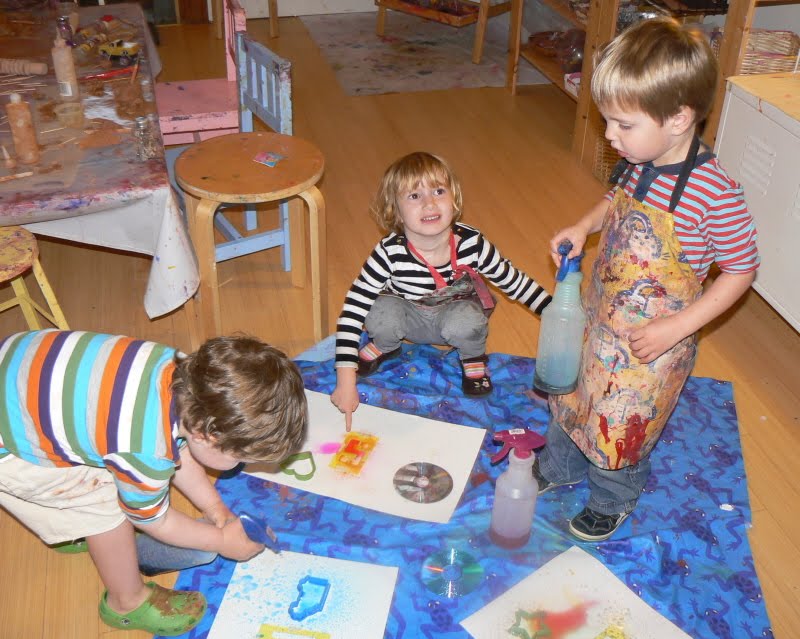
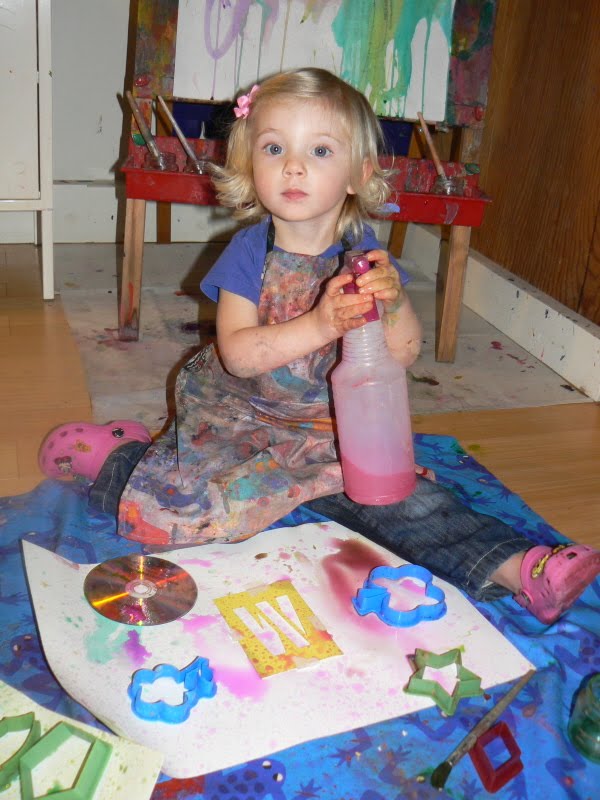
To continue the watercolor theme, I offered each child a large piece of watercolor paper with various stencils and cookie cutters to place on the paper (everyone started with a stencil of the first letter of their name). Then the children sprayed their papers with liquid watercolor and left the papers on the floor to dry.


When they were dry, I removed the stencils to reveal white images of the shapes on the paper!


 A new friend, Grayson, joined us for class this week and was immediately interested in the clay.
 Pretty soon, I brought out a variety of tools and water to continue the exploration.
 Aly was curious about the materials on the shelf as well as the liquid watercolors at the easels.
 At the end of class I brought out some large watercolor paper and different stencil-like shapes for each child. They painted the paper with liquid watercolor then placed the shapes on the paper. The watercolor tends to pool up underneath the shape and when it drys you can see a darker image of the shape on the paper. Electra came over to paint, and sat down right on top of her paper!