For our third class of the session we focused on clay work. I first offered the children a few tools to roll, poke, or shape the clay.


Many of the children have worked with clay here in previous sessions and immediately knew what tools they wanted to use. Soon they were at the shelf retrieving trucks and animals to roll and stomp in the clay.


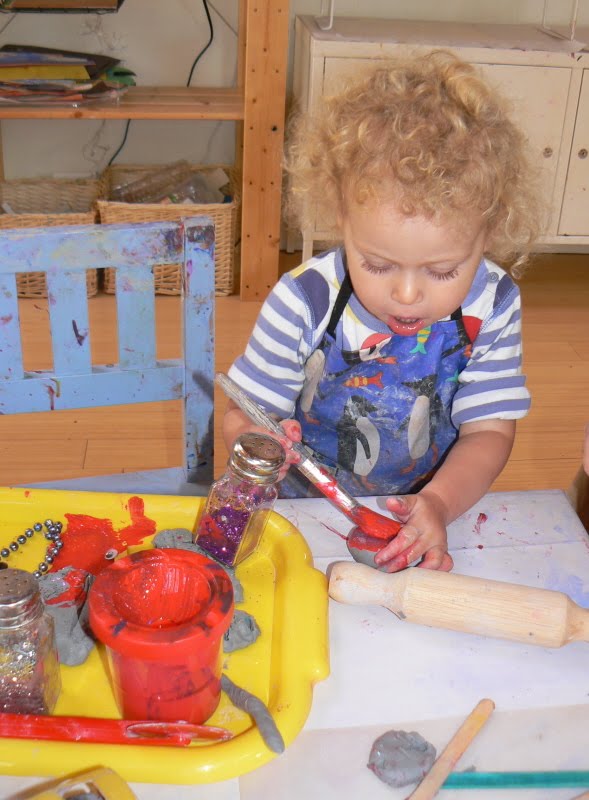
We talked about how you can pinch off parts of the clay and roll it in your hand to make balls or coils. I offered them toothpicks to use with their clay to continue our exploration of building up from
last session. I also offered the children a tray of little "treasures" to decorate their clay (this included beads, buttons, rhinestones and googly-eyes).


The children in the 1s class were not quite sure about manipulating the clay with their hands, but they were very excited about decorating the clay!


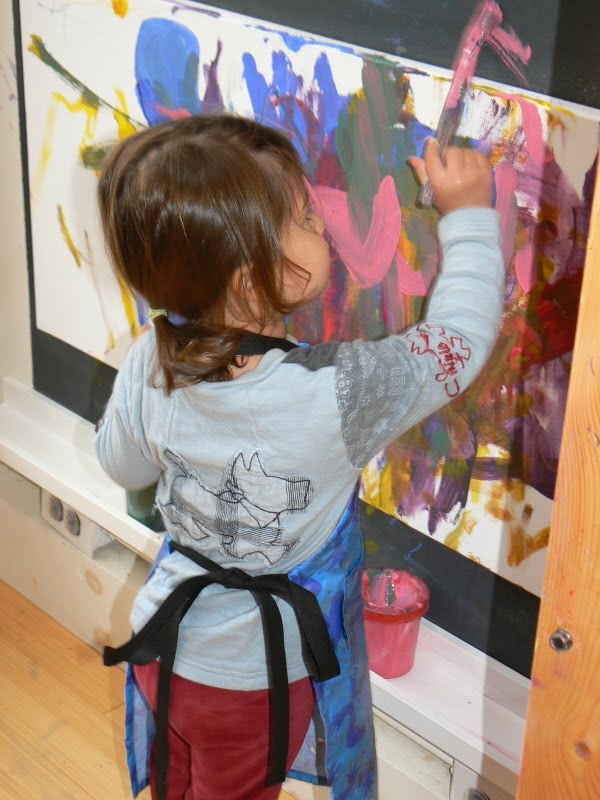
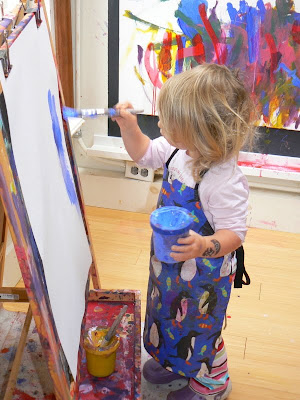
Sometimes it's nice to take a break from working at the table...


After working with clay for a while, it can begin to dry out, so I always offer the children some water and a sponge to moisten their clay.

Sometimes it can get really wet and the kids will soak up the excess water with the sponge or an eye-dropper.

After working with fabric last week, many of the kids wanted to cut and add fabric to their clay work- an interesting new combination!


And sometimes a bowl is needed for all that water!


In one of the 2s classes, the children asked for the spray bottles and glue. They began to mix the glue and water together which began to drip onto their chairs. This gave one of the kids the idea of spraying the chair with watercolor, then cleaning it off with a sponge!

Pretty soon all of the kids were "cleaning" the chairs.


I thought it was interesting how the chairs suddenly became a new surface for their art experiments (good thing these materials are washable!)

At the end of the 2s class, the kids painted the batiks that they had started last week. Next week I'll show you the final results.


Yay for clean up time!


 Many of the children have worked with clay here in previous sessions and immediately knew what tools they wanted to use. Soon they were at the shelf retrieving trucks and animals to roll and stomp in the clay.
 We talked about how you can pinch off parts of the clay and roll it in your hand to make balls or coils. I offered them toothpicks to use with their clay to continue our exploration of building up from last session. I also offered the children a tray of little "treasures" to decorate their clay (this included beads, buttons, rhinestones and googly-eyes).
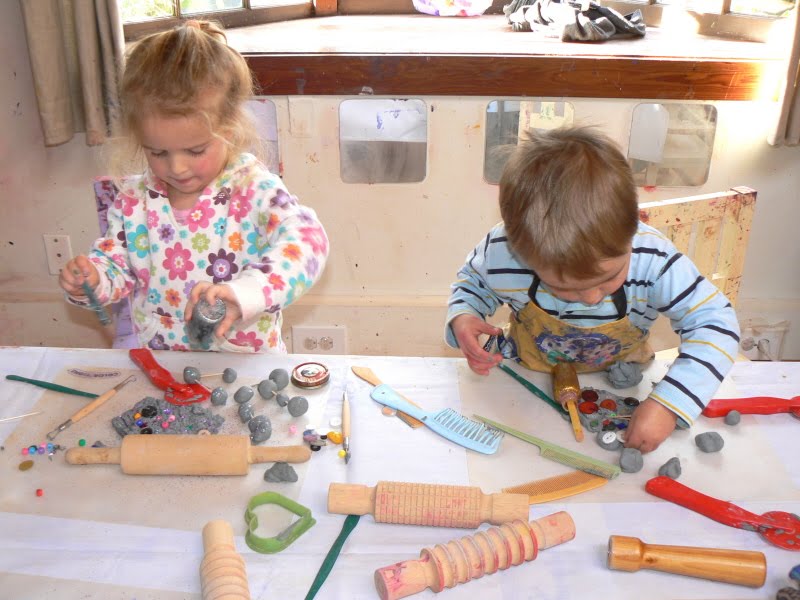

 The children in the 1s class were not quite sure about manipulating the clay with their hands, but they were very excited about decorating the clay!
 Sometimes it's nice to take a break from working at the table...

 After working with clay for a while, it can begin to dry out, so I always offer the children some water and a sponge to moisten their clay.
 Sometimes it can get really wet and the kids will soak up the excess water with the sponge or an eye-dropper.
 After working with fabric last week, many of the kids wanted to cut and add fabric to their clay work- an interesting new combination!
 And sometimes a bowl is needed for all that water!

 In one of the 2s classes, the children asked for the spray bottles and glue. They began to mix the glue and water together which began to drip onto their chairs. This gave one of the kids the idea of spraying the chair with watercolor, then cleaning it off with a sponge!
 Pretty soon all of the kids were "cleaning" the chairs.
 I thought it was interesting how the chairs suddenly became a new surface for their art experiments (good thing these materials are washable!)
 At the end of the 2s class, the kids painted the batiks that they had started last week. Next week I'll show you the final results.
 Yay for clean up time!