Have you heard of Olive Us? This collection of videos gives you a peek into the lives of blogger Gabrielle Blair's (Design Mom) six adorable children. This "Pottery Lesson" is my favorite...
Pottery Lesson from Olive Us on Vimeo.

Wednesday, January 9, 2013


Tuesday, December 18, 2012
Holiday DIY Gift- Succulent Terrarium

Supplies:
Small succulent (garden store)
Mason jar (pack of 12 from General store, hardware store or Bed Bath & Beyond)
Decorative rocks (from garden store and/or pet store. The blue rocks are for fish tanks!)
Moss (from garden store)
Colored sand (from craft store)
Dirt (from yard or garden store)

1)Layer the rocks, moss, sand and dirt into the jar any way you want!
2)Put some dirt at the top and make a little hole to pop in the succulent roots.
3)Scatter decorative items on top if you want and drizzle a bit of water over the top.
Done!
For a gift tag, wrap some twine around the top and tie on a tag. Easy Peasy!
Thursday, October 25, 2012
Spiderweb Printmaking
For some creative Halloween decorations, we decided to try out these styrofoam spiderweb prints, seen over at Tinkerlab. We started off by cutting out two circles of foam from our Make+Believe Magnificent Monoprint Supply Kit, but you could also use a Styrofoam plate.
Karuna and I weren't sure exactly how to draw a spiderweb, so we looked up a photo of one online and talked about the lines and shapes in the web. Then we each took a stab at it, and drew our version of a spiderweb and spider onto our plates.
Next we used a ball point pen over our drawings to make deep grooves in the foam. Here are our finished printing plates:
 To make a print, we used a brayer (a foam paint roller would do fine as well) to roll out paint onto the foam plates. In addition to black paint, we were excited to try our glow in the dark paint left over from Karuna's birthday. We had fun swapping plates to ink and print over and over again.
 After rolling out the paint, we pressed a piece of paper onto the plate, rubbed it carefully, then peeled it up to reveal our print. For an added pop of color, we used a small paint brush to paint in the spider with the opposite color.
 And here are some final prints, taped to our doorway for Halloween! I haven't yet seen whether the glow in the dark one acually works, but the yellow looks pretty cool anyway.
 Happy Halloween!
Karuna and I weren't sure exactly how to draw a spiderweb, so we looked up a photo of one online and talked about the lines and shapes in the web. Then we each took a stab at it, and drew our version of a spiderweb and spider onto our plates.
Next we used a ball point pen over our drawings to make deep grooves in the foam. Here are our finished printing plates:


Tuesday, September 11, 2012
Update and Cutie Pie

Hello! This cutie is part of the reason I've been an absentee blogger recently. I have also been hard at work revamping my online shop. The new site will be much more user friendly and totally awesome! Another big change that has occurred over the summer is the sale of my children's art studio. Being a stay at home mom, running a studio, and running an online shop was spreading me too thin. I made the tough but exciting decision to sell the studio to Jhaya Warmington, the incredible teacher who worked for me. If you are in the Mill Valley area, check out her new website for the art studio here.
Karuna continues to take art class and loved making these butterfly wings in her garden art workshop!

Now I can finally breath, play with my kids, and focus on creating a great online shopping experience for your children's creative needs.
You can still use the coupon code save40 to get 40% off of our entire stock before the relaunch!
Wednesday, July 25, 2012
Glow In the Dark Birthday Goodie Bag!
 For my daughter's 4th birthday, she wanted to celebrate with a few friends at an outdoor movie theater. It was her first time watching anything on the big screen and her first attempt at watching The Lion King (which proved to be too scary for 4 yr olds. Oops!). Although the movie part was kind of a disaster, the kids at least got to go home with a cool glow in the dark goodie bag! If anyone had stayed til it got dark out it would have been really cool. So if you're looking for a fun party favor idea for a sleepover or nighttime party, here is how I made it:

If we were doing the party at home I would have had them paint their own masks or even a tee shirt or cape or something fun!


Thursday, July 19, 2012
Huge Summer Sale

I hope your summer is off to a great start. I’ve begun working on some exciting changes
to my online shop. In preparation, I’m
having a huge sale on all our great art projects, supplies, and toys. If you’re looking for fun summertime
activities or gifts for kids ages 1-10 don’t miss out on this amazing deal!
Just use the coupon code Save40 at checkout to receive 40%
off your entire order.
Friday, May 25, 2012
Art Show

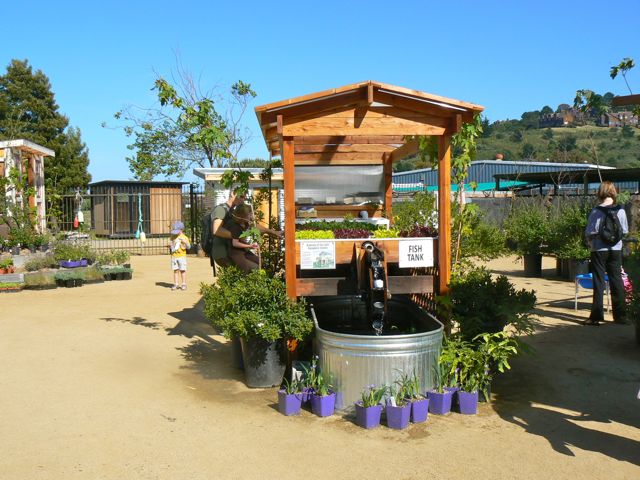
We have come to the end of the school year and are excited to showcase the children's work and the various explorations that they have encountered in art class throughout the year. The last time I attempted an art show was two years ago when the studio was in my back yard. Boy, have these classes come a long way! Not only have the projects evolved, but we now have two awesome teachers, Jhaya and Kory, who have brought their passion and skills to the table. And of course we are now located at the amazing GROW Art & Garden Education Center, the perfect backdrop for this colorful exhibition.
Below are some pics from the show.It will be up for one more week if you're in the area and want to check it out!
Wacky object paintings, tape resist, treasure hunt collage, spin and golf ball painting:

Sand prints, collaborative watercolor/ink, collaborative plaster relief sculptures:

Collaborative pour painting:

These are two of the 5 printmaking boards... we sure do make a lot of prints!

Watercolor paintings, handmade paper:

Self portrait drawing and clay sculpture:

Skateboard shelves with foam sculptures on top:

Foam sculptures, toddler clay work:

Collaborative plaster relief sculptures:

The children showed off their work, they were so proud!


After checking out the show, everyone hung out in the garden and enjoyed the beautiful weather. We had food, a few creative activities and a gorgeous space to run and play.



Subscribe to:
Posts (Atom)