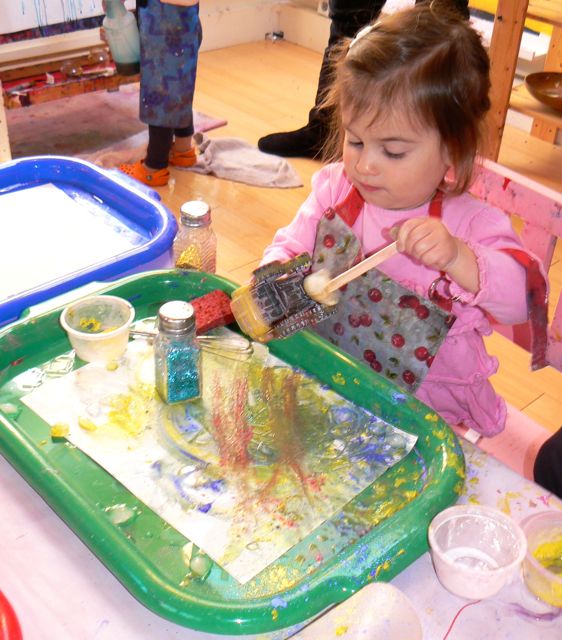
Now that the weather is warming up, I decided to try out ice painting this week! To start, each child was given thick watercolor paper, powdered tempera paint, and an ice cube on a stick. They sprinkled the powered paint onto their paper, then moved it around with their ice cubes. As the ice began to melt, the powdered paint turned into a liquid paint.
After experimenting with the ice cubes, I gave each child a scoop of crushed ice to stir around their paper.
When the ice wasn't melting fast enough, the children used water and a sponge to get the process going faster.
Of course glitter was a necessary addition to their painting!
Some of the kids added coarse salt, which soaks up the water and makes interesting designs in the paint.
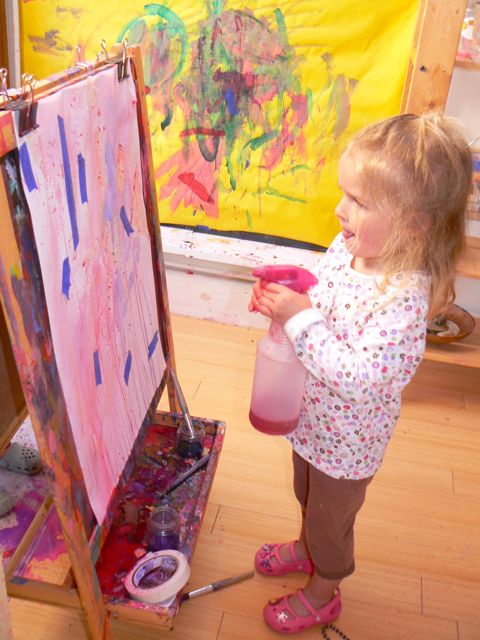
After ice paining, the children worked on tape resist paintings. They stuck tape and contact paper (cut into shapes) onto their paper, then they sprayed it with watercolor paint. When the paper dries, they can peel off the tape-which resisted the paint- and find their design!
In the oldest class, we worked on "Shrinky Dinks" that we'll be using for our project next week. Here's a sneek peek of what's to come for our final class of the session!


Great idea! I've never tried ice painting with powdered paint. I usually just freeze water/food color in the ice cube trays. I'm going to try it this way next time :)
ReplyDeleteThanks Kat, it was really fun! One suggestion for you would be to do it on a really hot day so the ice would melt faster.
ReplyDeleteLooks like lots of messy messy fun!
ReplyDelete