Tuesday, December 18, 2012

Holiday DIY Gift- Succulent Terrarium

This holiday season, I wanted to come up with a gift for teachers, party hosts, friends, etc. that I could make in multiples without breaking the bank. Inspired by Karen Kimmel's Crafting Community, I decided that mason jar succulent terrariums would be perfect!
As I began creating my first jar, Karuna (my 4 yr old), asked if she could make one too. Of course, why didn't I think of that! These little layered terrariums are super easy for kids to make on their own. They always come out beautiful, which make them the perfect kids' crafting gift for family, friends, and especially teachers.
Supplies: 
Small succulent (garden store)
Mason jar (pack of 12 from General store, hardware store or Bed Bath & Beyond)
Decorative rocks (from garden store and/or pet store. The blue rocks are for fish tanks!)
Moss (from garden store)
Colored sand (from craft store)
Dirt (from yard or garden store)
Steps:
1)Layer the rocks, moss, sand and dirt into the jar any way you want!
2)Put some dirt at the top and make a little hole to pop in the succulent roots.
3)Scatter decorative items on top if you want and drizzle a bit of water over the top.
Done!
For a gift tag, wrap some twine around the top and tie on a tag. Easy Peasy!

Thursday, October 25, 2012

Spiderweb Printmaking

For some creative Halloween decorations, we decided to try out these styrofoam spiderweb prints, seen over at Tinkerlab. We started off by cutting out two circles of foam from our Make+Believe Magnificent Monoprint Supply Kit, but you could also use a Styrofoam plate.
Karuna and I weren't sure exactly how to draw a spiderweb, so we looked up a photo of one online and talked about the lines and shapes in the web. Then we each took a stab at it, and drew our version of a spiderweb and spider onto our plates. 
Next we used a ball point pen over our drawings to make deep grooves in the foam. Here are our finished printing plates:
To make a print, we used a brayer (a foam paint roller would do fine as well) to roll out paint onto the foam plates. In addition to black paint, we were excited to try our glow in the dark paint left over from Karuna's birthday. We had fun swapping plates to ink and print over and over again.
After rolling out the paint, we pressed a piece of paper onto the plate, rubbed it carefully, then peeled it up to reveal our print. For an added pop of color, we used a small paint brush to paint in the spider with the opposite color.
And here are some final prints, taped to our doorway for Halloween! I haven't yet seen whether the glow in the dark one acually works, but the yellow looks pretty cool anyway.
Happy Halloween!

Tuesday, September 11, 2012

Update and Cutie Pie


Hello! This cutie is part of the reason I've been an absentee blogger recently. I have also been hard at work revamping my online shop. The new site will be much more user friendly and totally awesome!  Another big change that has occurred over the summer is the sale of my children's art studio. Being a stay at home mom, running a studio, and running an online shop was spreading me too thin. I made the tough but exciting decision to sell the studio to Jhaya Warmington, the incredible teacher who worked for me. If you are in the Mill Valley area, check out her new website for the art studio here.
Karuna continues to take art class and loved making these butterfly wings in her garden art workshop! 

Now I can finally breath, play with my kids, and focus on creating a great online shopping experience for your children's creative needs.
You can still use the coupon code save40 to get 40% off of our entire stock before the relaunch!

Wednesday, July 25, 2012

Glow In the Dark Birthday Goodie Bag!

For my daughter's 4th birthday, she wanted to celebrate with a few friends at an outdoor movie theater. It was her first time watching anything on the big screen and her first attempt at watching The Lion King (which proved to be too scary for 4 yr olds. Oops!). Although the movie part was kind of a disaster, the kids at least got to go home with a cool glow in the dark goodie bag! If anyone had stayed til it got dark out it would have been really cool. So if you're looking for a fun party favor idea for a sleepover or nighttime party, here is how I made it:

The largest item in the bag was a mask, which I made by painting glow-in-the-dark paint over white plastic masks (I primed them with spray primer first, just to make sure the paint would stick). Then I added glow stick bracelets and whatever glow-in-the-dark items I could find, which turned out to be stickers and little plastic bugs. If I had given myself more time, I'm sure I could have found plenty of other little glowing goodies to add. I also threw in some candy just for fun. Then I put everything in a see through bag so the items would be exposed to as much light as possible.
If we were doing the party at home I would have had them paint their own masks or even a tee shirt or cape or something fun!


Happy birthday sweet Karuna!

Thursday, July 19, 2012

Huge Summer Sale


I hope your summer is off to a great start.  I’ve begun working on some exciting changes to my online shop.  In preparation, I’m having a huge sale on all our great art projects, supplies, and toys.  If you’re looking for fun summertime activities or gifts for kids ages 1-10 don’t miss out on this amazing deal!
Just use the coupon code Save40 at checkout to receive 40% off your entire order

Friday, May 25, 2012

Art Show


We have come to the end of the school year and are excited to showcase the children's work and the various explorations that they have encountered in art class throughout the year. The 
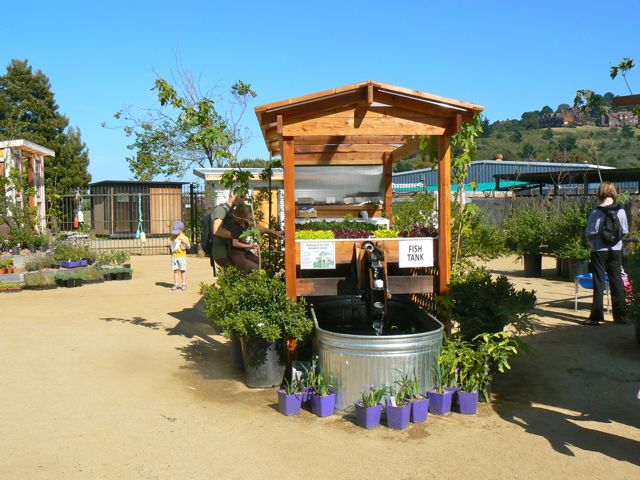
last time I attempted an art show was two years ago when the studio was in my back yard. Boy, have these classes come a long way! Not only have the projects evolved, but we now have two awesome teachers, Jhaya and Kory, who have brought their passion and skills to the table. And of course we are now located at the amazing GROW Art & Garden Education Center, the perfect backdrop for this colorful exhibition.
Below are some pics from the show.It will be up for one more week if you're in the area and want to check it out!

Wacky object paintings, tape resist, treasure hunt collage, spin and golf ball painting:


Sand prints, collaborative watercolor/ink, collaborative plaster relief sculptures:


Collaborative pour painting:


These are two of the 5 printmaking boards... we sure do make a lot of prints!


Watercolor paintings, handmade paper:


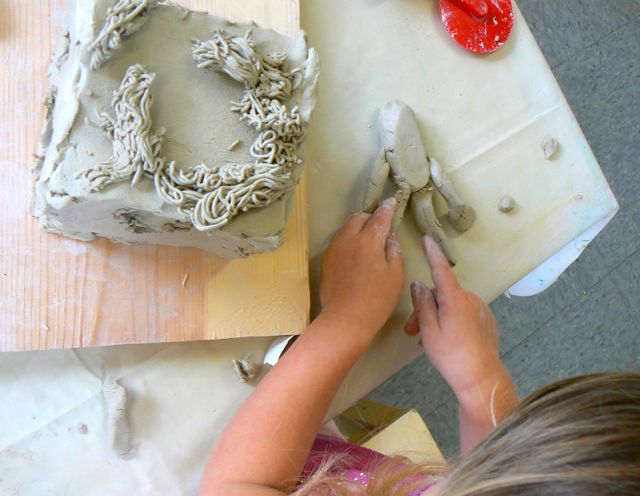
Self portrait drawing and clay sculpture:


Skateboard shelves with foam sculptures on top:


Foam sculptures, toddler clay work:


Collaborative plaster relief sculptures:


The children showed off their work, they were so proud!


After checking out the show, everyone hung out in the garden and enjoyed the beautiful weather. We had food, a few creative activities and a gorgeous space to run and play.


Thanks for a wonderful year and hope to see you this summer!

Monday, May 7, 2012

Creating With Clay Slabs


For the second week of our sculpture classes, the children were introduced to clay slabs (which had been laboriously rolled out on an industrial slab roller prior to class). If you were going to try this at home, you could use a rolling pin to form a basic slab. Jhaya's plan was to draw on the children's interest from the previous session and make clay houses, like the cardboard box houses that were such a hit before. As it turned out, the children who were in the previous session got the concept right away and began planning on what type of house they would make. Some of their ideas: Barn, Pirate Cave, Fairy house, Castle, Pig house, Spider house, and Bird house.


This project was a great way to learn about making cut-outs in the clay for windows and doors. The children also learned about balance and stability in order to get the walls and pitched roofs to stay put.


Some of the children worked on additional items to go inside the houses, like a horse, a spider, a pig, a birds nest, or a person. When one child was trying to figure out the body proportions of her person, another child offered to stand up and model for her!

The class with all new students (who hadn't made the cardboard houses in the previous session) decided to go in a different direction. Instead of making houses, they wanted to use the slabs to make vases, so Jhaya helped them learn how to make wall vases using two slabs of clay. To create texture, the children pressed leaves onto the clay to make prints.
Below are some photos of the children glazing their work from the first few weeks (after everything had been bisque fired).


Once glazed, the pieces were fired again for the final time.
Here are a couple of finished houses. The rest of this amazing work will be shown at our upcoming art show on may 19th- don't miss it!


Tuesday, April 24, 2012

Messy Clay Discoveries and Pinch Pots


For our clay week, the 1s and 2s classes explored the qualities of clay with a variety of objects. They used tools such as rolling pins, clay hammers, plastic pizza cutters, garlic presses, and modeling tools to cut and shape their clay. You can try this activity at home with our Make+Believe Create With Clay! Supply Kit.


Other objects like toys, old CDs and necklaces, were used to add texture to the clay.


The children squished and molded bits of clay with their hands- a good work out for those tiny muscles!

After a while, the teachers introduced water to investigate what happens when the clay gets wet.


A little water made the clay softer...


A lot of water made a big, fun mess!


The classes with 3 yr olds took the exploration a step further and worked on making pinch pots out of clay, then decorated them with tempera paint, sequins, and jewels. Some kids also made "elbow pots" by pressing their elbow into a ball of clay. This creates a slightly shallower bowl than a pinch pot.


What a keepsake!