Monday, January 30, 2012

Making Houses

Last week in art class, while the younger children explored the the paste mixing collages, the older classes worked on making "houses." They were each given a cardboard gift box and began by discussing what types of houses they wanted to make. Their ideas were mostly about forest animal houses and fairies but there were a couple of underwater houses and even a skate ramp! Once they each decided on their concepts, they went to work using the paints, glues, scissors, and all kinds of craft materials on the table.


 Check out this skate ramp!
Here are a few more of the finished houses. Most of them asked their teacher, Jhaya, to help them write a sign for their house out of glitter glue...
I'll soon be posting about our recent clay week, where some of the kids decided to continue working on their houses and ended up making furniture and other items to add to them.

Wednesday, January 25, 2012

Mixing Paste for Collage

Last week the 1s, 2s, & 3s classes experimented with mixing their own paste for collage work. This project is super fun because it feels like a cooking and art project combined. First they scooped a cup of flour into a mixing bowl, added water, and then tried their best to stir it into a batter-like consistency.
As exciting as the combination of flour and water was, it got even better when the teachers brought out the colorful tempera paint and glitter!
Once the paste was ready, the children scooped it onto their tag board (the 3s class had frames cut from cardboard) and used a variety of scraping tools to spread it around.
Some of the scraping tools were made for children's paint, while others were direct from the hardware store- plastic putty knives and plastic notched trowels for tiling. I love to see how the children learn new things by watching each other!
At times this was a very messy project (and not always the prettiest), but well worth the experience!

After the paste was laid down, the children began to assemble collage items onto their boards.

And onto the window... what ingenuity!

Wednesday, January 18, 2012

Tape Resist Paintings

For the first week of our new session, we began with a tape resist painting exploration (where tape is first placed on paper, painted over, then peeled up to reveal negative space). It's always a fun challenge to come up with an introductory lesson for new students that still offers something fresh and novel for the returning students. I think it's important to start new students off with finger/object painting so they get to know the qualities of tempera paint and the wacky tools that are available to them each week. This project allows for both the messy, sensory experience of finger/object painting, while simultaneously teaching this new technique of tape resist.
For the 1s and 2s classes, the children started off painting over tagboard (similar to poster board) that was pre-taped with the first letter of their name. So for those kids who aren't yet interested in the tape, they will still get to see the effect of the tape-resist. The children were also given fingerpaint paper and colorful tagboard to try out new painting surfaces.
Some of the toddlers tried making their own designs with tape before painting over them.

They also explored the studio to find that the easels and the window made great painting surfaces as well!
The 3s, 4s, & 5s classes began with tape and scissors to experiment with their own designs.
Then they focused on painting over their tape work. Some covered their entire paper, while others chose only parts of the paper to paint.

When the children decided that they were done with their paintings, the teachers showed them how to carefully lift up the tape to see their designs- So cool!
Some of the finished pieces:

Tuesday, January 3, 2012

Exploring Circles- Welcoming the Cycle of a New Year

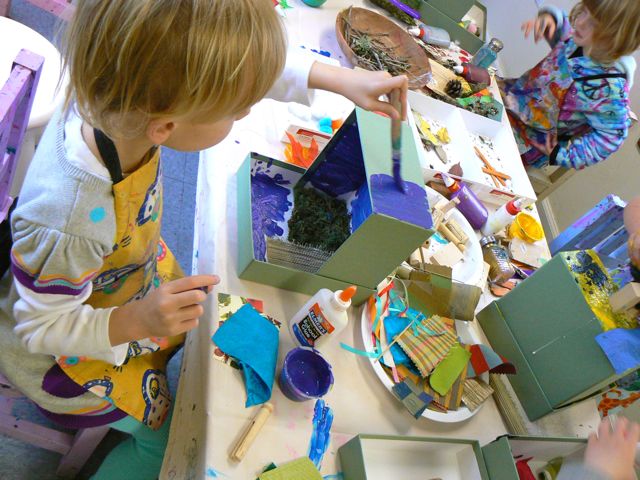
For our last class of the session, we explored a circular theme to represent the end of one year and the beginning of a new year. The 1s and 2s classes began with different types of ball painting. We used golf balls for children who aren't accustomed to marbles yet, and introduced marble painting to kids whose parents felt comfortable with such small objects.
The kids used spoons to roll the balls in paint and scoop them into their trays. Next, they began to shake and tip the trays to make tracks on their paper.
Stirring the balls around and shaking glitter onto them was also a major part of the experience.


As the children began to collect new tools off of the shelf, the teachers brought out large paper to continue their exploration.

We even tried the ball painting on a large scale, where the kids collaborated to get the balls rolling.
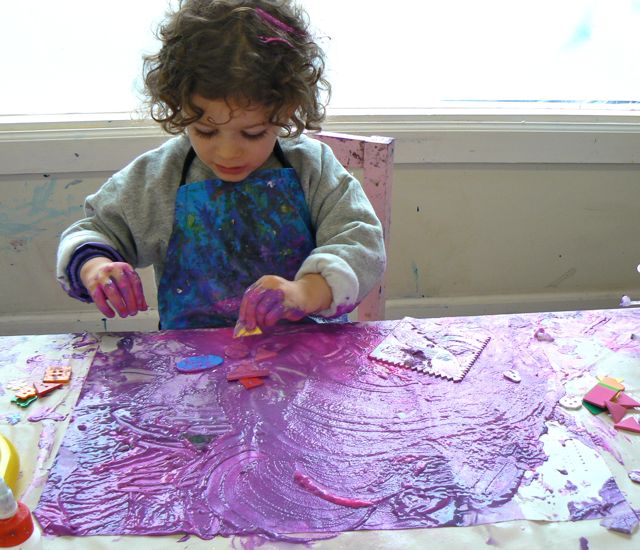
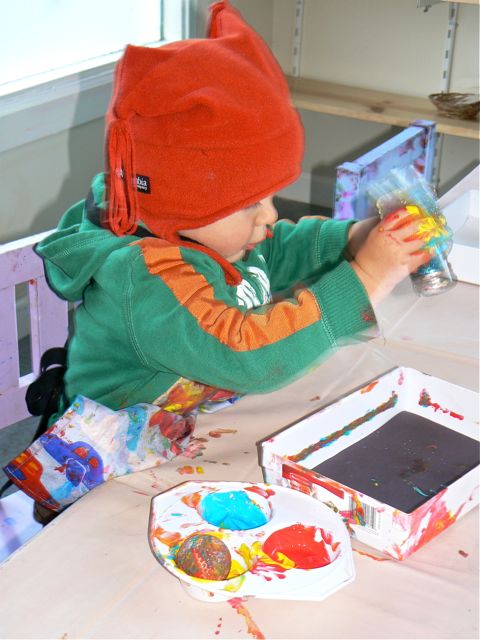
As the kids began to move around the studio, we had some more exciting circular activities to investigate.
We tried out our new "spinner art" machine that spins the paper around really fast while the children added drops of paint to the moving paper. The machine came with squeeze bottles, but we first tried using our eye droppers with watered down tempera paint to help develop fine motor skills.
Here is an example of a finished spin art design!
While some of the children focused on the spin art, others were drawn to the pendulum painting, set up over the floor. We hung a string and plastic cup (with a small hole at the bottom) from the ceiling to act as a pendulum. The kids squirted watered down tempera paint into the cup and swung the cup around in circles to create circular and oval drip designs. The floor was covered with a painting that had been previously sprayed with watercolors, so the design overlapped the blotchy watercolor effect. One group of kids began to pass the cup back and forth, creating a cooperative painting game!

Before getting messy with the ball painting, the 3s/4s classes worked on a more crafty project for the new year... a "wish catcher." They began by drawing a design onto a pre-cut poster board with holes punched into it. While they were drawing, the teachers asked them about what types of wishes they had for the new year and helped them write down their wishes. Some kids wished for snow, or to play with friends, and one even wished for a chainsaw (which it turns out he actually got for Christmas!)
After drawing on the poster board, the kids practiced their fine motor skills by "sewing" yarn in and out of the holes.
After sewing, the teachers helped the kids apply clear contact paper to the middle of the hoops so they could create a "stained glass" collage (they also made sure to stick their wishes into their collages).
Here is one of the finished "wish catchers" hanging in the window. Maybe they will help to manifest all of the children's hopes and dreams for the new year. Happy New Year!!!